Rose's Easy-Az Pickled Onions
Serves 4 (as a side) Prep Time: 5 minutes Cost: $3 (for initial gherkin jar)SIMPLE, QUICK, DELICIOUS! EASY-AZ PICKLED ONIONS
I find jars of pickled onions are just a little bit tart, too vinegary, so I stick to something I really sweeter, the large sliced gherkins or sandwich sliced pickles as they are sometimes referred to. These are still vinegary but sweeter and fantastic in hamburgers and sandwiches.
From this...pickled gherkin slices
I had fished the last slice out of the jar and was about to pour the left over pickling juice down the drain when I suddenly thought... "what am I doing?!" There is nothing wrong with this juice, I'm going to see if I can reuse it for pickled onion slices.
I quickly sliced up 2 small onions - cut each onion in half and slice into thin half-rings. Place slices into the pickling liquid and leave in the fridge for at least 3 weeks. It works, it really works!
To this...pickled onion slices
You will end up with delicious sweet pickled onion slices that taste amazing! Perfect in a salad, sandwich and as a cracker topping. Add to Antipasto platters or to a potato salad for a bit of bite.
ONION SLICE N' DICE PHOTO GUIDE
I don't know why people get so bent out of shape over chopping onions. Just relax and chop the darn thing. It's not Masterchef no one is going to judge you...
I think I chop onions pretty good - good enough for me anyway.
If you follow these photos you will get a good Onion Slice 'n Dice range.
I think I chop onions pretty good - good enough for me anyway.
If you follow these photos you will get a good Onion Slice 'n Dice range.
Before you start you will need to get a sharp paring knife and a chopping board.
*** TIP: place a wet cloth to put under the chopping board to stop it slipping.***
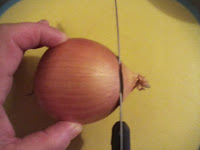
1. Whole onion - no need to peel at this stage!
2.a Slice off Pointed End
2.b Looks like this.
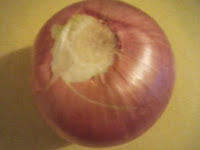
3.a Carefully slice off the root end - leaving the thickened part of the root still on the onion. The stem keeps the onion together and makes dicing easier.
3.b Looks like this and you can see the slightly darker root stem in the middle of the onion.
4. Cut the onion in half - slice through the centre of the thick root stem as shown.
4.b Now you have two halves that look like this. Now PEEL the onion. You end up with the photo below.
 NOTE*** If you want onion half-rings slices for the pickle slice the onion between the root stem and pointed end now. For the pickle slice thinly - you will get more in the jar!
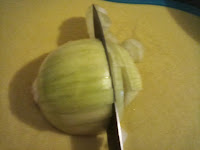
6.1 Position onion like this - pointed end towards the knife handle root end at the knife tip. Place the knife tip about 1/2 a centimetre back from the root end and slice through the onion. Keep slicing to the end of the half. See how it stays together intact. That is because the root stem is keeping it together. Makes things a lot easier!
6.2 NOTE*** For easy 'rough slices' for stews or casseroles simply cut off the root end and you will be left with onion slices that will come apart in the cooking process. Or you can separate them easily with your fingers.
TIP: For added flavour: Place separated onion slices into a plastic bag or container and add a teaspoon of My savoury flour or Italian Herbs or a casserole packet mix, seal the bag or container and shake it. The onion slices will get coated in the mixture and taste amazing. Helps to thicken up stews and casseroles too.
7.a You can see how good the diced pieces look already - easy peasy!
7.3 STOP here! - a full centimetre from the root end - no need to cut any fingers! There is an easier way to deal with the end bit.
7.4 Place the end bit down so you have a bigger surface to cut - the slices are in place so you will still get diced bits.
7.4 I chop as far as the stem part of the onion. I throw that bit away. The root stem can be tough and doesn't tend to break down in the cooking process.
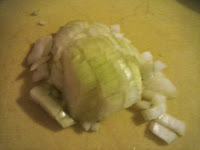
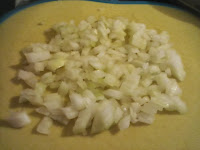
8. Wow! How cool is that, a mound of diced onion easy as that!
You can simply use them like that, and scrape the lot into a pan for cooking - but I like to get the pieces nicely separated first.
Separating the diced bits is really easy and takes 5 seconds!
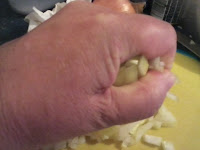
8.1 Pick up the mound in your hand, squeeze gently and let the bits fall back onto the board - You and Gravity make it work!
8.2 If you have a big pile just repeat the process till the pile is nicely separated.









No comments:
Post a Comment